Modifying Power Options in Windows.
In some instances, it maybe necessary to modify the Sleep settings to ensure that your computer can scan with StopSign® at the scheduled scan. These settings can be different for Laptops and Desktops.
Computers running Windows XP should contact support for assistance with this, as the sleep settings may not be enabled and therefore not needing adjustment.
Desktops and laptops running Windows Vista, 7, 8, 8.1, and 10.
1. Hold the Windows key down and press the letter R. Then release both keys.
2. In the RUN box that appeared type the following:
powercfg.cpl
3. Press OK.
The new Screen that appears should look similar to this picture below, but may present more or less options. Only change the plan settings for the plan currently selected which is indicated by the black dot.
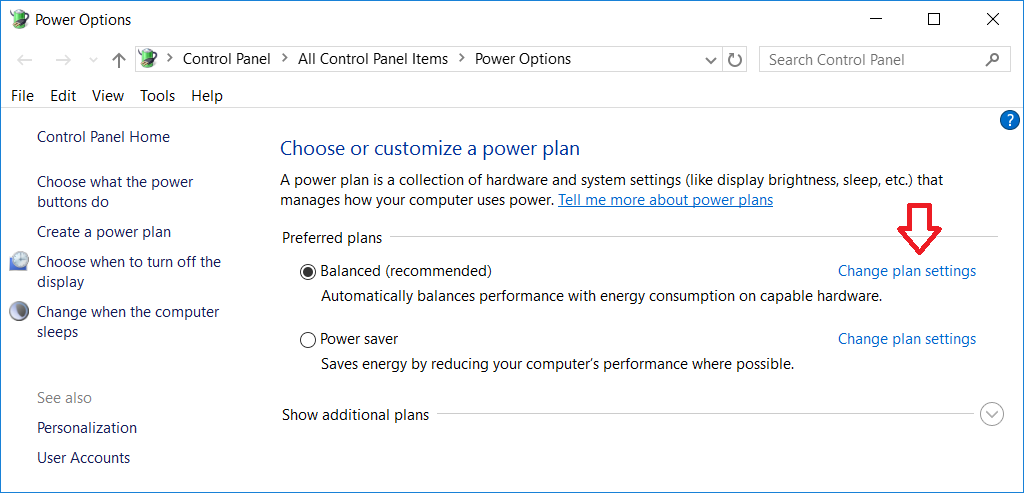
4. Next click on the "Change plan settings" Link indicated by the red arrow above.
The new screen you see will look like one of the images below depending on whether you have a desktop or a laptop.
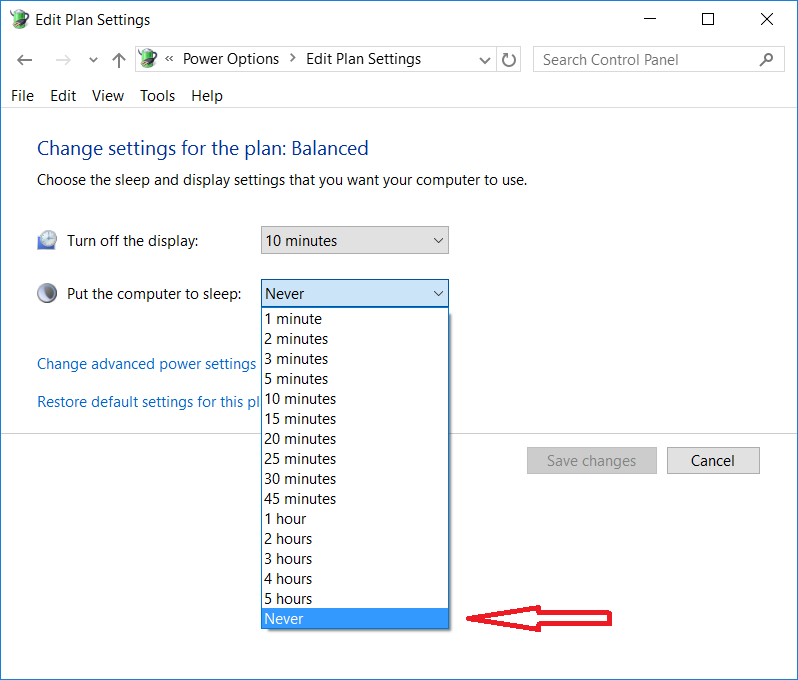
Desktop
Laptop
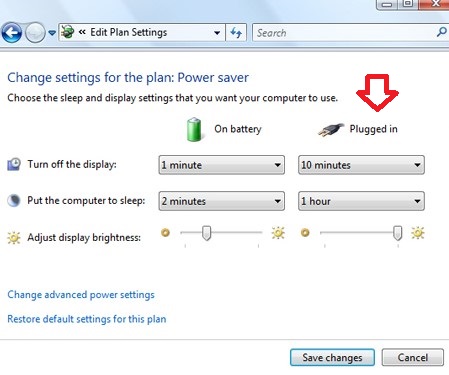
5. Adjust the "Put the computer to sleep" setting to never. On laptops this should only be done on the plugged in side as indicated by the red arrow.
6. Click Save Changes.
7. Laptops may have additional settings changes required.
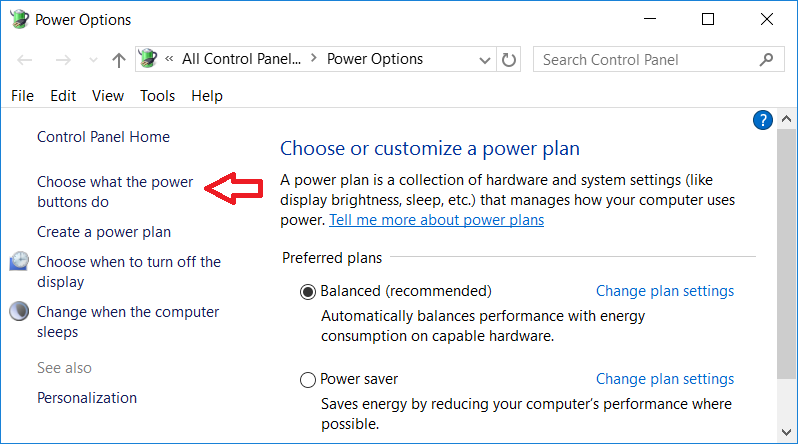
Power button
- Click the link indicated by the arrow in the picture above.
- "When I press the power button" should indicate Shut Down. If it does not select it.
- Click Save Changes.
Closing the lid
- Click the link that says "Choose what closing the lid does". This should also be found in a similar location to that of the power button indicated by the red arrow in the image above.
- On Battery, it should be left with its current settings and only the Plugged in side should be adjusted. The plugged in side should be changed to "Do nothing" if you want the scanner to be able to run during the scheduled scan time which is set by default to run at midnight.
- Click on Save changes.
8. Close all open windows and restart the computer.
For further assistance -
SUBMIT A TICKET
or
CONTACT SUPPORT
Additional user information may be found via the StopSign KNOWLEDGE BASE.